The making of a Stark Avionics panel
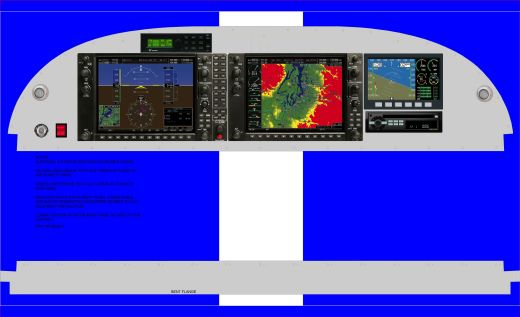
First step is to put the concept into a drawing and get customer approval.
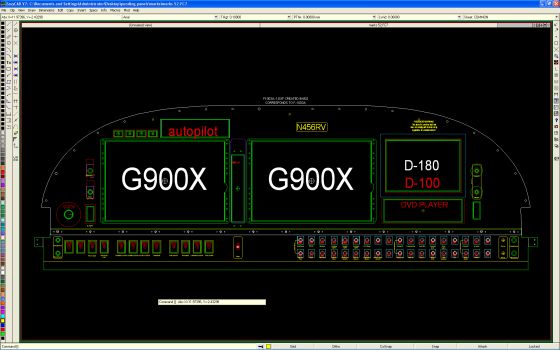
Next we draw it up VERY precisely in a CAD program.
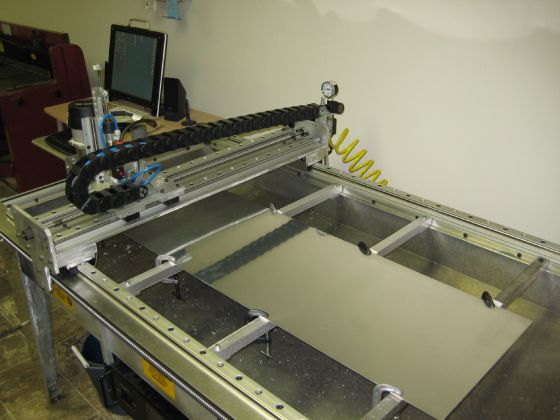
Next we clamp a blank piece of aluminum onto the panel pro cutting machine.
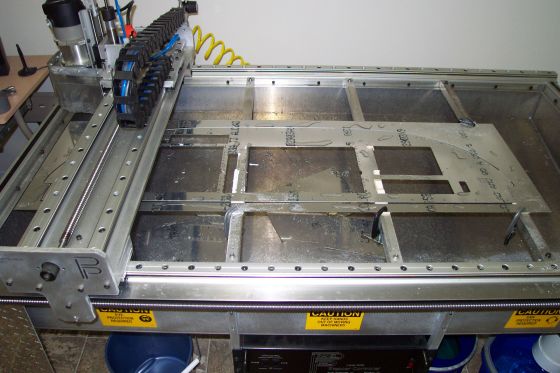
Here is what it looks like when we are done.
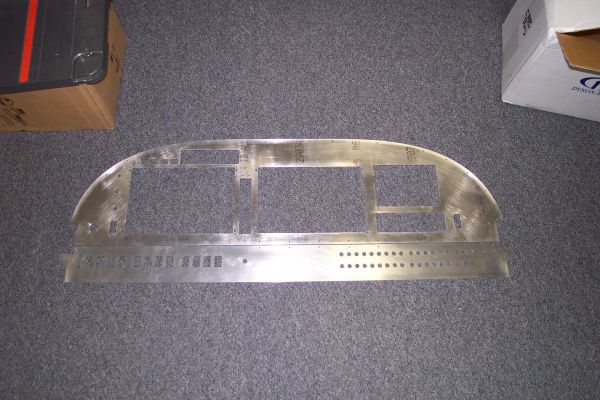
It is time now to take the cut piece and install all trays or any other needed metal work.
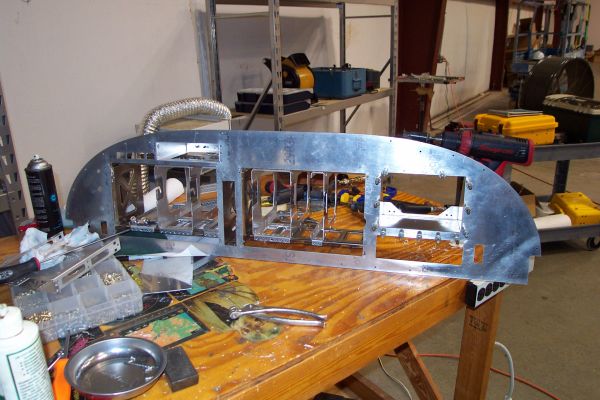
Now you have to make a choice.
1. Standard enamel paint: Industry standard for years. Durable and user friendly. Color matching possible.
2. Powder coating: Very durable and somewhat scratch resistant. Can chip when drilling into it. No color matching.
3. Vinyl covering: So far as I know we are the only ones doing this. We use the best vinyl available to sign makers, apply it to the metal and then shoot it with an automotive clear coat. Graphically you can do anything with this. We can put a picture of the kids or grandkids on your panel. Any pattern, any color. Durability is much like the enamel paint since it has a clear coat protecting it.
Below is a G900X panel done in vinyl.

It is time now to fill the panel with circuit breakers and components.
The last thing is the wiring and testing.
Below is the finished panel.
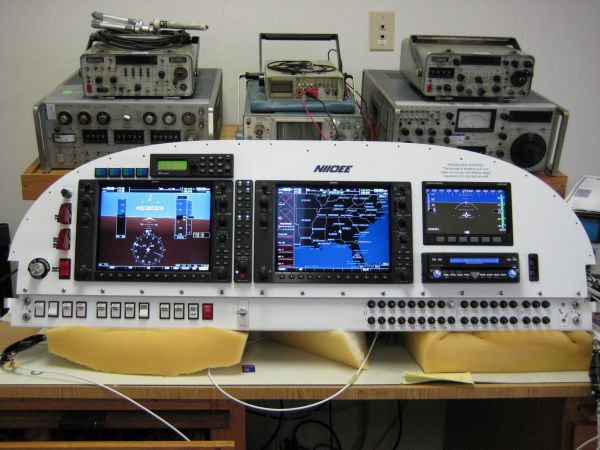
We deliver the completed and tested panel to your door for you to bolt in and connect coaxes grounds etc.
